
 |
 |
 |
How to Make Tofu
|
|||||||||||||||||||||||||||||||||||||

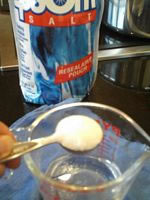
I use Epsom Salts (magnesium sulfate) as my coagulant, since it is readily available and cheap. You can also purchase nigari (magnesium chloride) or gypsum (calcium sulfate), both of which are sold specifically for making tofu. The advantage of gypsum is that it makes your tofu a great source of calcium. Sources for these products are Gem Cultures, SoyaJoy’s site, and Soyquick. For first time tofu-makers, I’d recommend starting with Epsom salts … they are cheap, so if you end up not wanting to ever make tofu again, you won’t be out much more than a dollar or so. Even more important, the magnesium based coagulants are easier to use … the separation into curds and whey happens more quickly, and more definitively than with a calcium based coagulant. |
First step: Make the Soy Milk
I like a very firm, dry tofu (like extra-firm tofu), so I use 4 1/2 quarts of soymilk per batch of tofu. This is 3 batches of soymilk from a soymilk maker. If you prefer a softer, less firm tofu, you could use about 3 quarts of soymilk, or 2 batches from a soymilk machine. Either way, you'll get approximately 1 to 1 1/4 pounds of tofu. The softer version will have more moisture than the firmer type. |
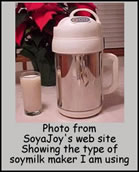
As each batch of soymilk gets made, Do not flavor the soymilk. If you are using a soymilk maker that traps most of the okara (soybean solids left over after making soymilk) in a stainless steel mesh basket, there is no need to filter the milk. If you are using a blender to make the milk, you WILL need to filter out the okara solids. |
 |
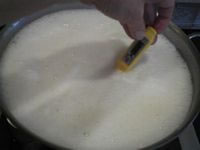 |
Once I have all 3 batches of milk from the soymilk maker in the pot, I heat the milk to 180°F. The temperature does not have to be exact ... it should not be any LOWER, but a little higher would be OK. Do NOT let the milk boil. If you are using a soymilk making machine, you’ll find the milk comes out of the machine right around 180°, so it's a fairly short period of time needed to reheat it. You do have to stir almost constantly during this time to prevent scorching on the bottom. |
While the milk is heating, prepare the coagulant. Dissolve the coagulant in BOILING WATER, and stir till dissolved. For this amount of milk, I use one half to one tablespoon of Epsom salts, dissolved in 1/2 cup boiling water. Start with the lower amount ... you can always add more if needed. Different batches of soymilk need differing amounts. You want the LOWEST amount that will curdle ALL of the milk (too much will make the tofu bitter). Once the milk is at 180° or higher, I add the coagulant. The coagulant/liquid should still be very hot when you pour it into the hot milk .... you do not want to lower the temperature of the milk. |
 |
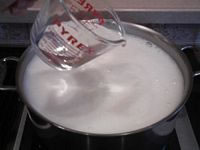 |
Start by drizzling HALF of your dissolved coagulant into the milk. (So, this means a total of one quarter tablespoon total of epsom salts if you started with the lower amount of one half Tbsp. dissolved in 1/2 cup boiling water)
I drizzle this over the top of the heated soymilk and give it one GENTLE stir. The emphasis here is on GENTLE STIR and ONE stir. Too much agitation (as in vigorous stirring) will prevent coagulation from occurring. |
Up until now, the burner has been on, keeping a constant (low) level of heat to the milk. AFTER adding the coagulant, I then turn the burner off, but leave the pot on the burner. I have an electric stove, so this continues to keep a low source of heat to the pot. For a gas stove, I’d recommend moving the pot to a warming plate or something similar, or keeping the flame at the very lowest setting possible. |
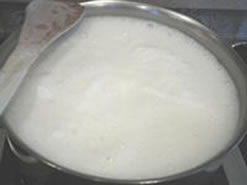
I let the milk/coagulant mixture sit on the stove for 10 minutes or so and then give the pot another gentle stir (one GENTLE stir!) and within 30 seconds or so, what had been a homogenous, white opaque mixture, has now separated into soft white curds, and clear amber whey. |
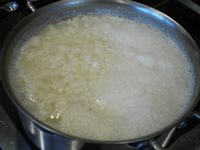 |
If, after 10 minutes or so, you see that curds have formed, but the liquid still is milky white (instead of clear amber), that means you need to add a little more of the remaining coagulant. Making sure it is still very hot, and drizzle over the top, give it another GENTLE stir, and within another couple minutes, the liquid should change to a clear amber. |
|
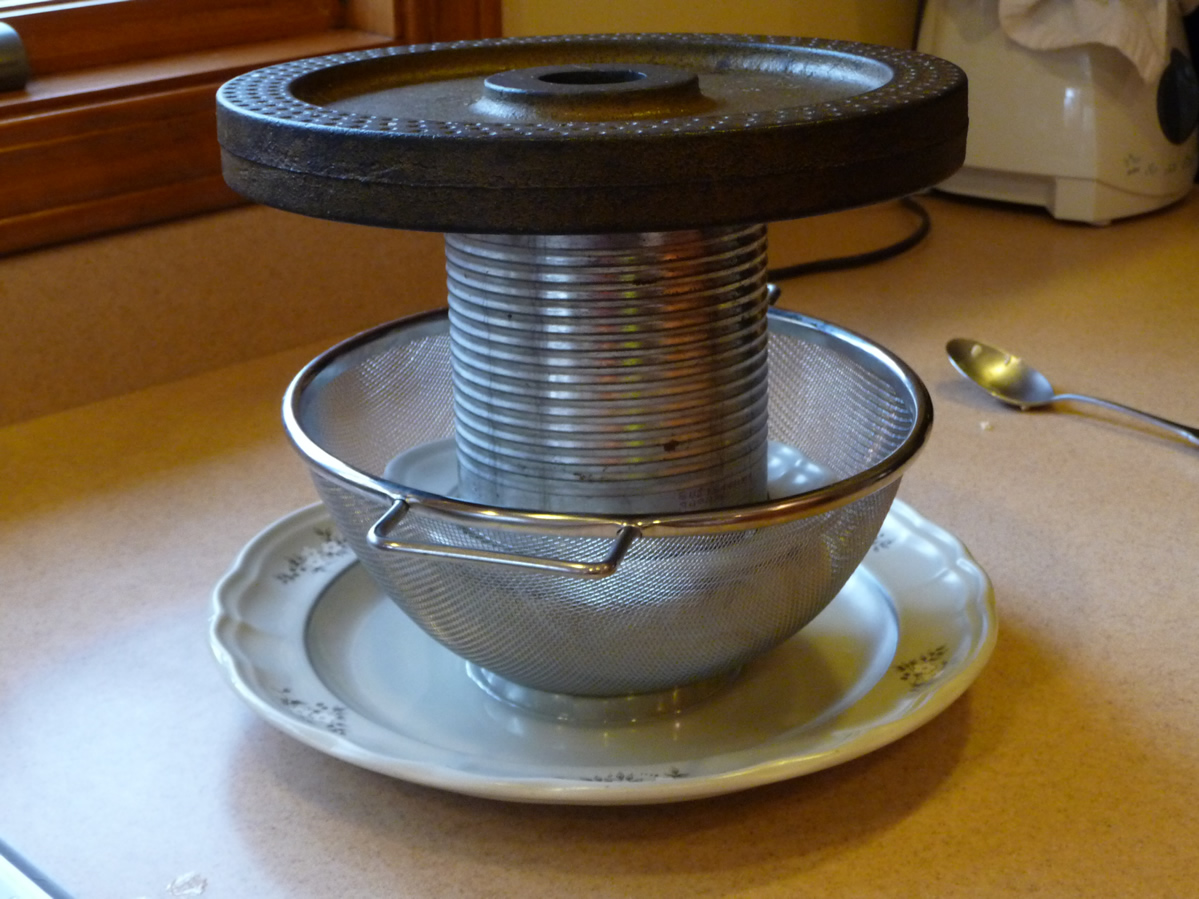
Once the soymilk separates into curds and whey, I pour it into my press. (If you are not using a tofu box, see here) After umpteen tofu making sessions, spending most of my time trying to spoon 6 quarts of curds and whey into this teeny, tiny tofu box, I finally found a solution... |
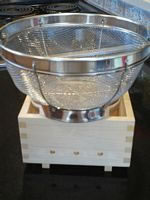 |
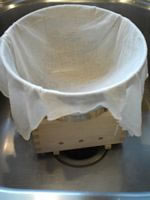
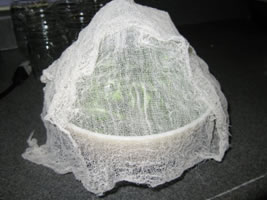
Place the tofu box (empty) at the bottom of your kitchen sink. (I give the sink a good scrub first!) On top of the box, place the sieve. |
In the sieve, place your cheesecloth, dampened with water. Drape it so it loosely covers the sides and bottom of the sieve. |
 |
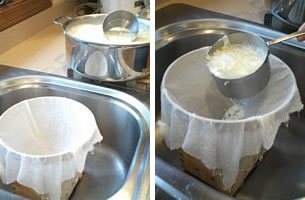
Using a large ladle or cup, transfer all the curds and whey into the cheesecloth lined sieve. (I use a stainless steel 2-cup measure.) The whey will drain through the cheesecloth and sieve down the drain, and the curds will remain in the cheesecloth. |
 |
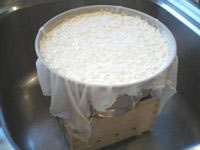
All the curds are now in the sieve. |
 |
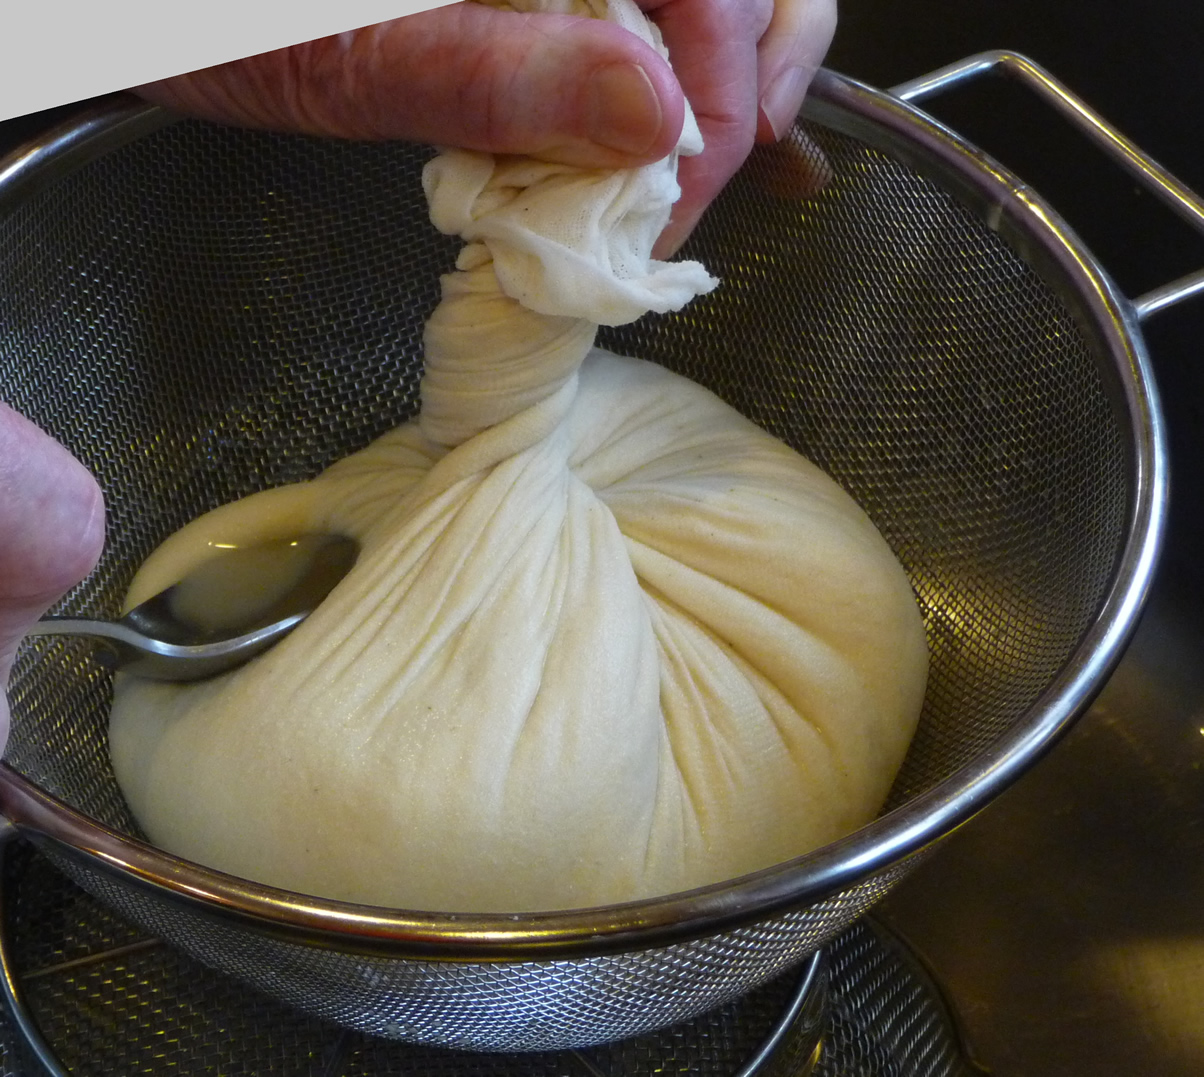
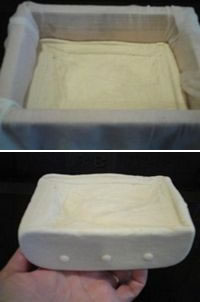
Pick up the corners of the cheesecloth and transfer the curds in the cheesecloth to the pressing box, gently pushing in on the sides as needed to let the whole thing slip down into the box. Work quickly … you want all the heat that is in this mixture retained. |
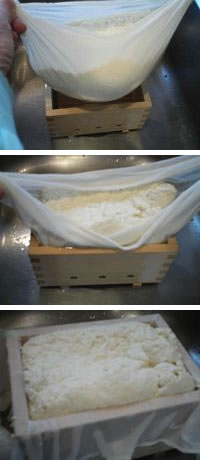 |
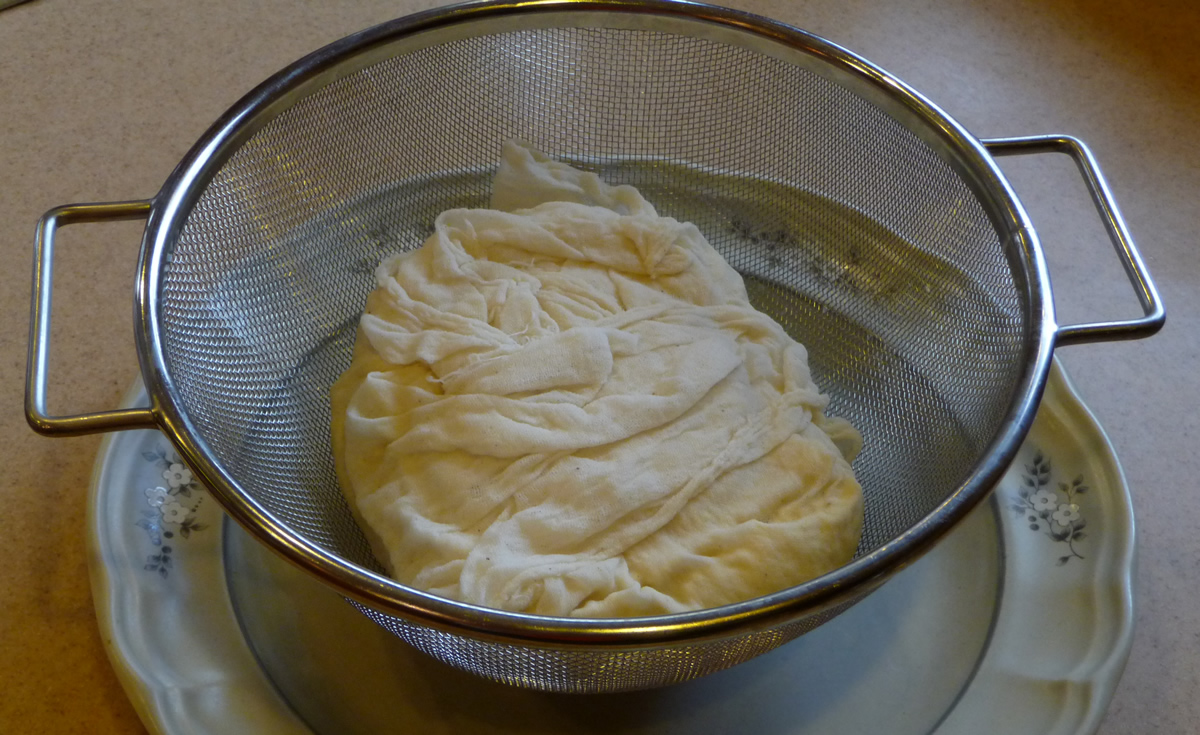

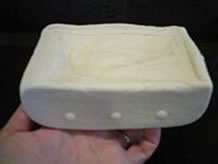
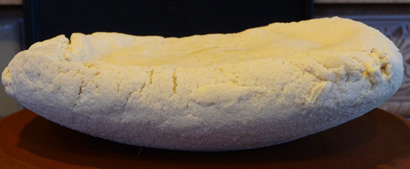
Once the pressing is complete, the curds will reduce in volume by about one half. The bottom picture shows what tofu pressed in a sieve instead of a box comes out like. |
 |
 |
Once the tofu has cooled, place it in a container, cover it with fresh, cold water, and cover the container. Refrigerate and change the water every day. It will keep about a week. |
Other notes
I'd suggest always using organic soybeans since soybeans are one of the heaviest sprayed commercial crops. Buying organic also assures you that the soybeans are not GMO ... genetically modified. The amount of soybeans needed for each batch of soymilk (in the soymilk maker) is 100 grams. They include a plastic measure which in volume is a little more than 1/2 cup. Soak the soybeans in water for at least 6 hours before making the milk. Remember that a BIG time saver for cleaning up afterwards is the dishwasher. Just about everything used to make tofu can go into the dishwasher. This makes short work of cleaning up the sticky, gooey, soymilk film that is on everything that the soymilk touched!! Even the soymilk maker … I put everything into the dishwasher except the motorized head part. This includes the stainless steel pitcher, as well as the stainless filter. |
Since I make tofu regularly (2-3 times/week), I invested in 2 machines, plus an additional stainless steel filter basket. Doing this REALLY speeds up the slowest part of tofu making ... getting the 4-5 quarts of milk that you need). I get the two soymilk machines working for my first two batches of milk. When they are done, I pour them into the 6 quart pot, clean the heating element/head of the one of the machines, and get a 3rd batch started. Here's where the 3rd set of the stainless steel filter basket comes into play ... I have to clean only one of the two pitchers, but not one of the filters which takes a lot longer. The soybeans are already in the clean, third filter basket all ready to go.
|
A word about cheesecloth |
Make sure you use a very finely woven cheesecloth. Baker’s Catalog (King Arthur Flour) sells a very finely woven type of cheesecloth, which is what is needed for tofu making. |
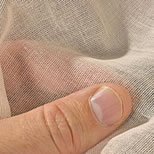 |
Compare the cheesecloth weave above to this next picture, which is much more typical of "grocery store" cheesecloth. This type of cheesecloth would not hold the curds at all. |
 |